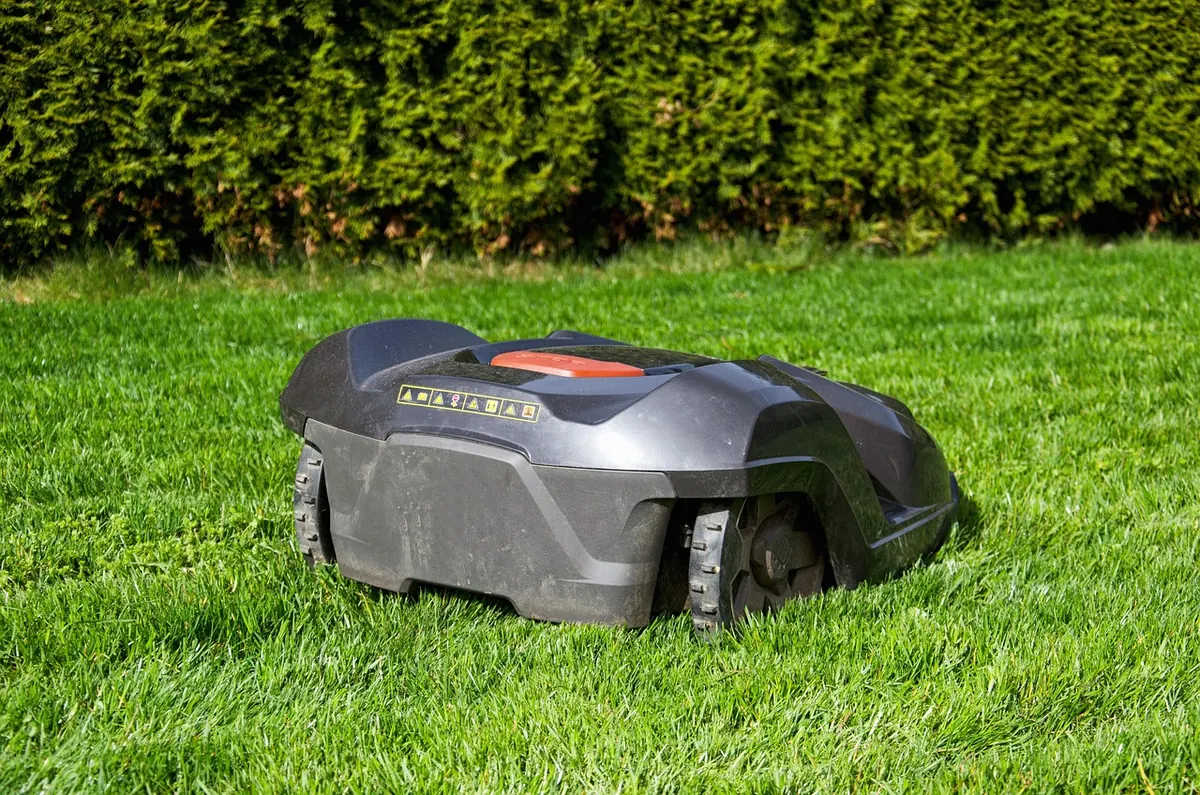
A sloped yard is where a robot mower earns its keep, and where a careless install falls apart. A machine that slides sideways on a wet incline, clips the lip of a retaining wall, or stalls halfway up the hill costs you more time than it saves. The layout, not the mower, usually decides whether the job works. Here is how to set one up so the hill stops being a problem.
Measure the Slope Before You Buy or Dig
You need one number first: the grade of your steepest patch, not the average of the whole lawn. Divide the rise by the run, then multiply by 100. A bank that climbs one metre over five metres is a 20 percent slope, roughly 11 degrees. A two-metre spirit level and a tape measure will do it; an inclinometer app on your phone is faster.
Take readings in three places, because they behave differently. The steepest straight-up climb, the steepest cross-slope, and the approaches to corners, where mowers slow, turn and lose grip. Most robot mowers are rated somewhere between 20 and 35 percent, and almost all of them handle less than the box claims once the grass is wet. Cross-slope tolerance is usually lower than uphill tolerance, which matters more than most people expect.
While you are walking the yard, note steps, retaining walls, ditches, pond edges, driveway aprons, exposed roots and any spot where water sits after rain. That list becomes your exclusion zones later.
Plan the Wire Route Around the Hill
The boundary wire is the mower's map. Where you run it decides which parts of the slope get cut, and how confident the machine is while cutting them.
- Cut out anything steeper than the rating. Ring it with an island loop or a physical barrier and mow that section with a push mower. You will spend five minutes on it, not fifty.
- Avoid running the wire straight up the fall line. On borderline slopes, follow the contour or run a shallow diagonal instead. The mower turns more easily and spreads its wear across the hill.
- Stay on ground that does not move. Skip drainage swales where water gouges turf, and skip loose mulch that slides after heavy rain.
- Leave a flat landing strip. Give the mower a metre or two of level ground at the top and bottom of any serious slope so it can turn and reorient before the next climb.
Laying the Wire on Uneven Ground
Work in a sequence, and the job stays manageable:
- Set the charging station first and connect the lead-out wire.
- Stake the wire loosely around the perimeter, keeping your measured offsets from walls, fences and beds.
- Build islands around trees, ponds, trampolines and steep banks.
- Splice with gel-filled connectors, and keep every joint above ground level.
- Run a loop test with a multimeter and check the signal before you bury anything.
- Bury or peg the wire, then send the mower out on its boundary-following cycle.
Spacing, stakes and offsets
Most manufacturers ask for roughly 25 to 30 centimetres of clearance from walls and fences, and more beneath overhanging branches, so check your manual before you commit. Peg every 80 to 100 centimetres, and closer on slopes, because a bowed wire invites the mower to drive past it. Leave gentle slack rather than pulling the wire tight; frost heave and settling will snap a taut line.
Corners and islands
Use wide, sweeping curves at corners where the ground allows, and sharp angles only when you have no choice. An island is a loop that runs out and back with the two legs a few centimetres apart, so the signal cancels in the gap and the mower treats it as a no-go strip. Never cross the wire over itself. That single mistake causes more odd behaviour than any other part of the install.
Connections and interference
Keep the loop away from metal fencing, buried power lines, invisible dog fences and a neighbour's robot wire. Interference shows up as random stops and confused docking. Use waterproof connectors, house the joints in a small service box above grade, and coil any spare wire loosely out of the way instead of leaving a large loop lying on the lawn.
The Charging Station Wants Your Flattest Ground
Pick a spot that is level to within a couple of degrees, ideally at the bottom of the slope or on a flat terrace. Avoid the low point where water pools. Most models need one to two metres of straight wire in front of the station and clearance at each side, so the mower can line up and dock without fighting gravity or momentum. If the station sits at the top of a hill, the mower arrives carrying speed and tends to overshoot the contacts.
Shim the base with stone dust or a paving slab rather than loose bricks that shift under vibration. Keep the power supply in a weatherproof enclosure with a drip loop in the cable. If you need a new outdoor outlet, have a licensed electrician install it.
Safety Zones: Drop-offs, Water and Anything Sharp
The boundary wire is the mower's only sense of an edge. It stops when the sensor crosses the wire, and the body can overhang the line before that happens. On a slope, it can also slide. Build in margin:
- Set the wire 30 to 40 centimetres back from the top of retaining walls, ditches and pond edges.
- Keep the entire loop clear of water, or fence the water off.
- Exclude gravel, deep mulch and loose stepping stones. The mower will spin, throw stones or beach itself.
- Keep driveways and roads out of the cut zone, and exclude any bank that drops toward a public road.
- Island septic lids, irrigation valve boxes, tree wells and sandpits.
First Runs, Tuning and Troubleshooting
Watch the first few cycles properly. Stand at the steepest point and see how the mower climbs, turns and recovers. Raise the cutting height a notch on slopes, mow when the grass is dry, and keep up with growth so the machine is not fighting long, heavy turf. Schedule around dew and evening irrigation.
- Wheels spinning on the worst pitch: run the wire diagonally, island off the steepest patch, or fit spiked wheels if your brand offers them.
- Sliding sideways across the slope: lower the speed setting if available, mow drier, raise the cut height.
- Random stops: look for metal nearby, a second wire loop, or a loose splice.
- Beaching at a corner: widen the corner and add extra stakes through the curve.
A Short Seasonal Routine
After winter, walk the wire and re-peg any section the frost
Photo: USA-Reiseblogger / Pixabay